When encountering issues like sticking keys on a keyboard, it’s essential to address the problem methodically to avoid further damage and restore functionality effectively. Here’s a straightforward guide on how to fix a keyboard with sticking keys, with a mention of DURGOD’s dedication to quality and support for troubleshooting such issues.
Step-by-Step Guide to Fixing Sticking Keys
- Turn Off and Unplug the Keyboard: Safety first. Ensure that your keyboard is disconnected from your computer or powered off if it’s wireless.
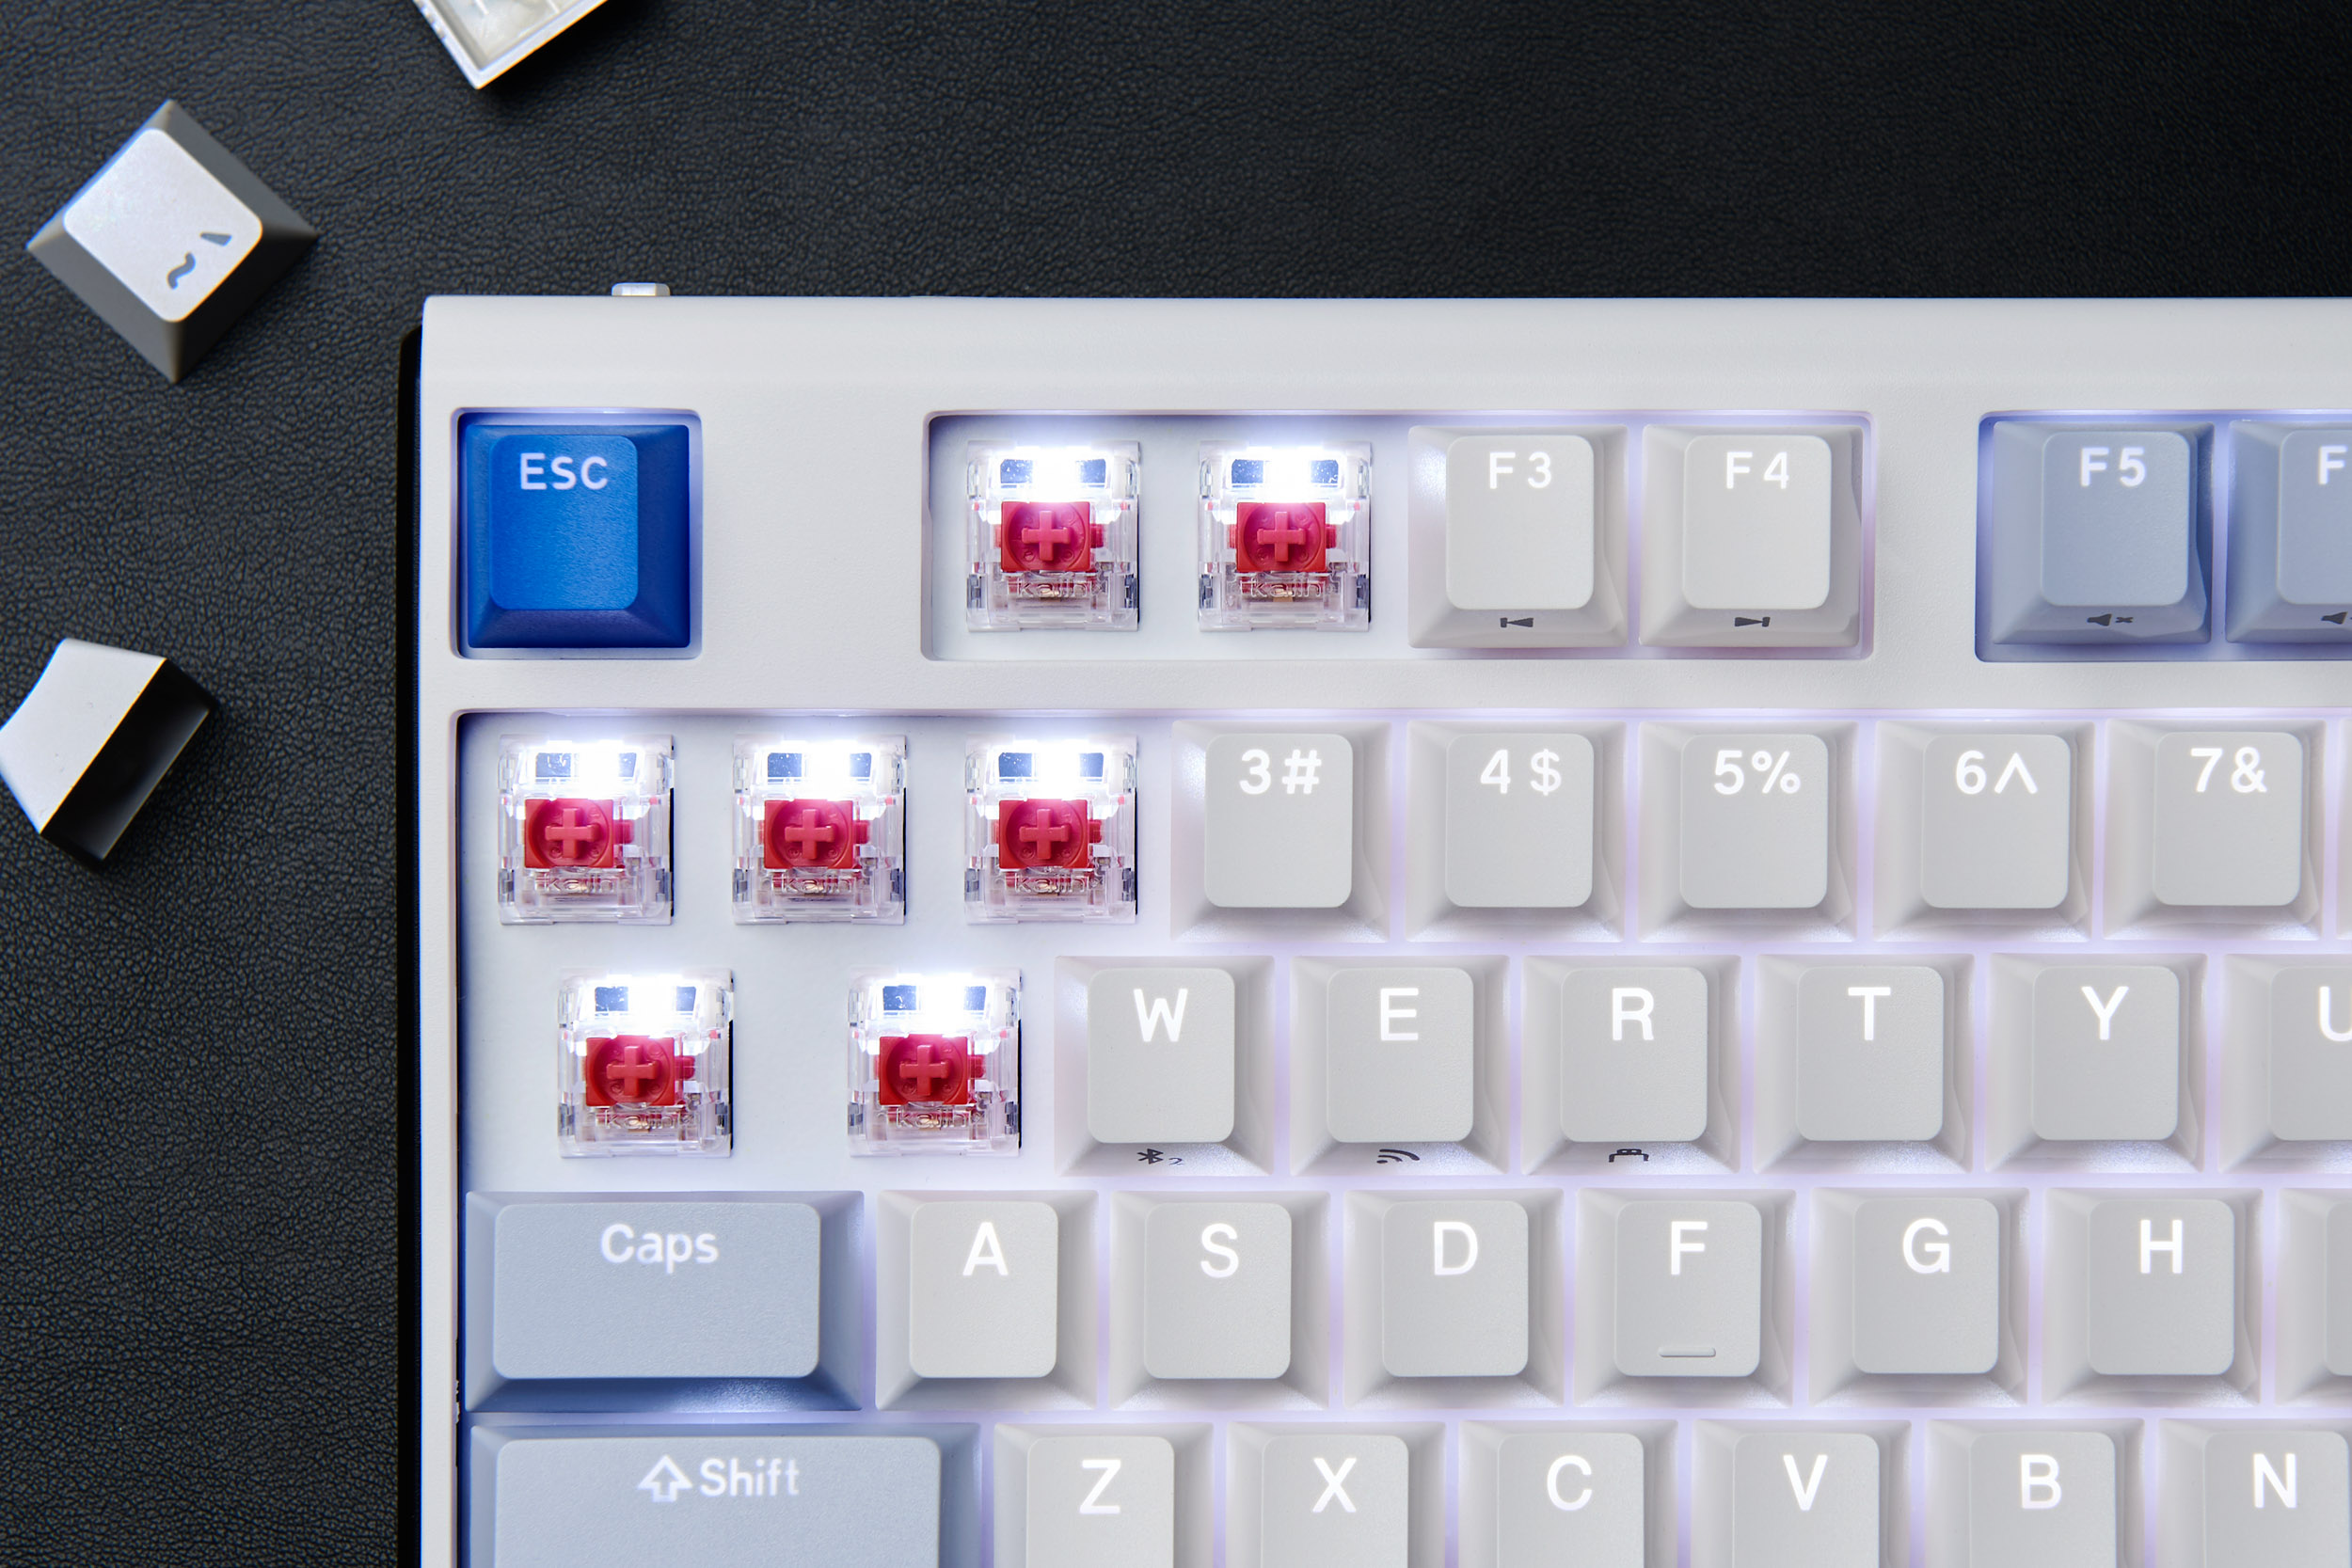
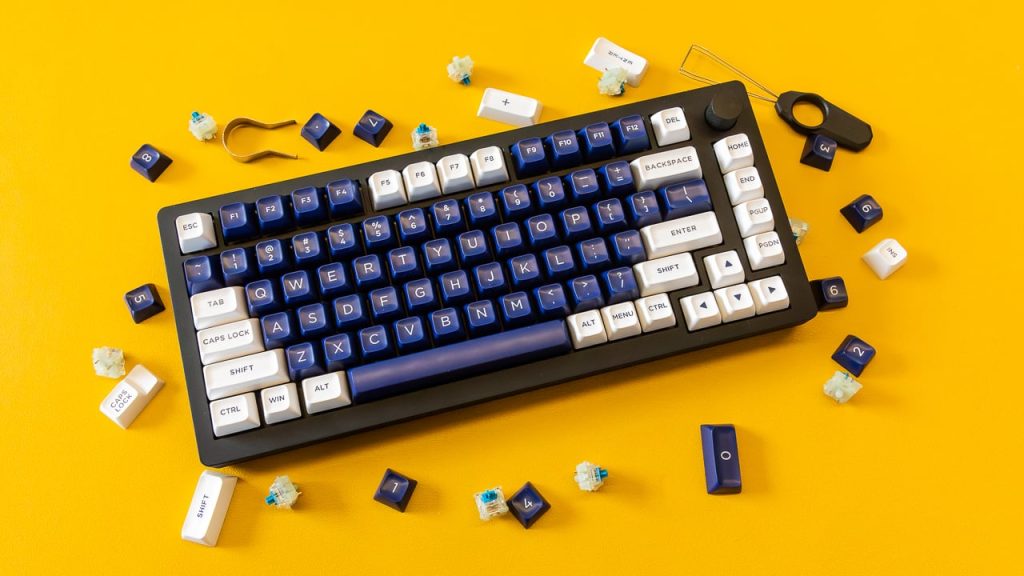
- Remove the Affected Keycaps: Carefully use a keycap puller to remove the keycaps of the sticking keys. This tool is often included with mechanical keyboards or can be purchased separately.
- Clean Under the Keycaps:
- Use compressed air to blow out any dust, debris, or crumbs that might be causing the keys to stick.
- For more stubborn residues, use a cotton swab dipped in isopropyl alcohol to gently clean around the switch. Avoid using too much liquid, which can seep into the switch and cause damage.
- Check and Clean the Keycaps: Sometimes, the keycaps themselves can be dirty or greasy, which contributes to the sticking problem. Wash them in warm soapy water, scrub gently with a soft brush, rinse thoroughly, and let them dry completely before reattaching.
- Reattach the Keycaps: Once everything is clean and dry, reattach the keycaps to their respective switches, making sure they snap back into place securely.
- Test the Keyboard: Connect your keyboard back to your computer and test each repaired key to ensure the issue has been resolved.
Preventative Measures
- Regular Cleaning: Regularly cleaning your keyboard can prevent issues like sticky keys. Use compressed air and a soft, damp cloth to keep the keyboard clean without disassembling it.
- Avoid Eating Over the Keyboard: Crumbs and spills are common reasons for sticky keys. Keeping food away from your work area can significantly reduce the risk of damage.


