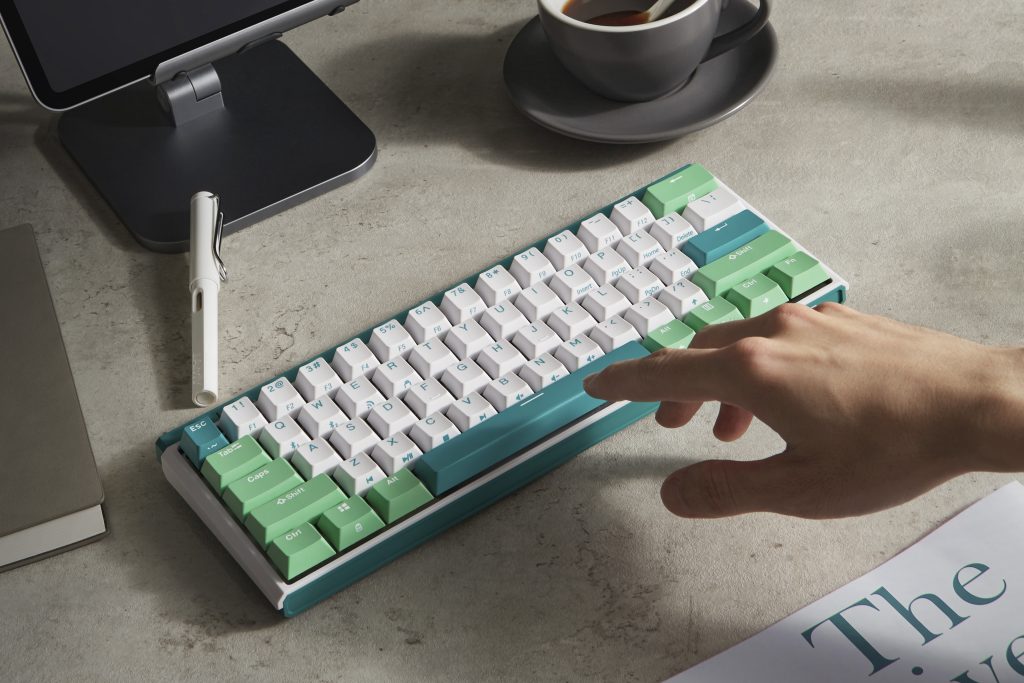
Maintaining your mechanical keyboard is crucial for both performance and appearance. As someone who loves using mechanical keyboards for work and gaming, I can confidently say that knowing how to clean a mechanical keyboard keeps it in top condition. Whether you’re dealing with everyday dust or a serious spill, here’s how to keep your keyboard spotless.
Gather Your Cleaning Tools
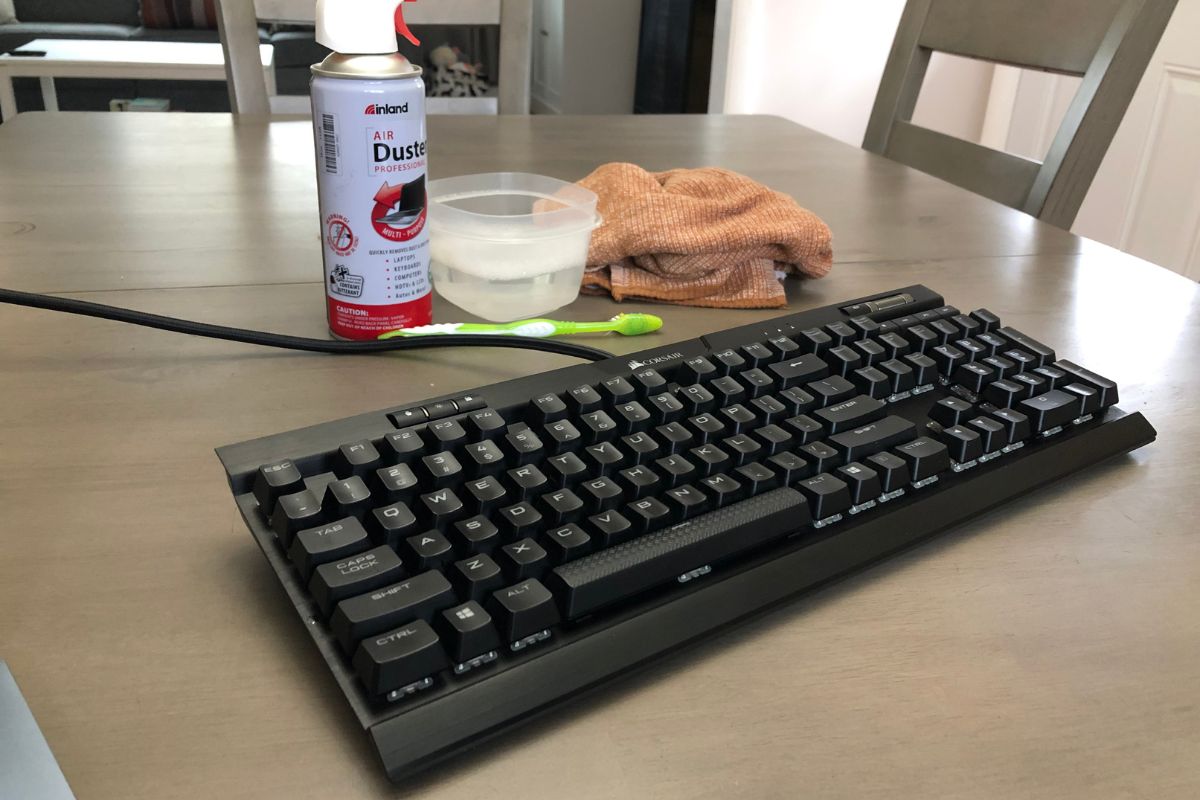
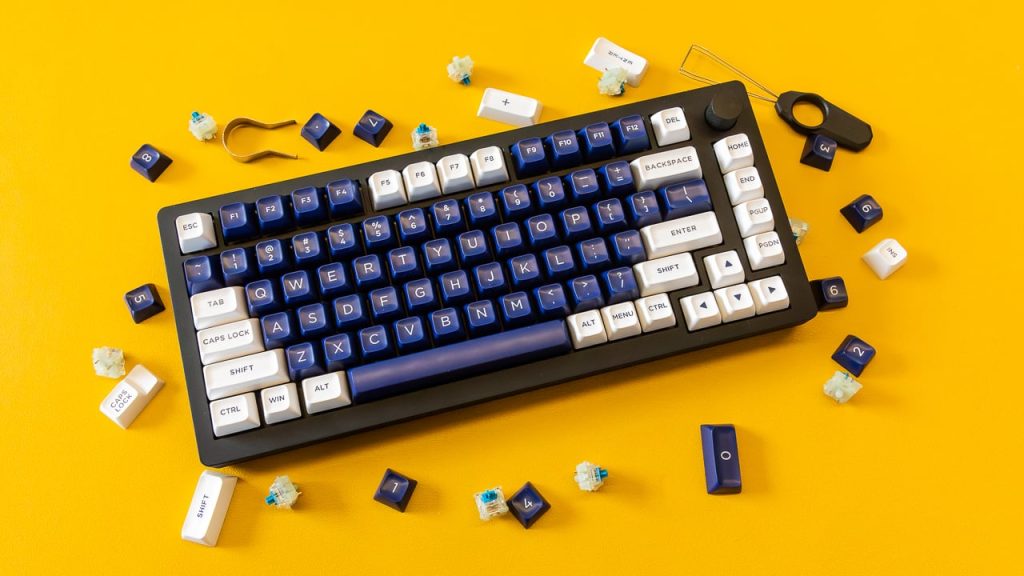
Before starting, collect the right tools to avoid damaging your keyboard. A keycap puller, compressed air, a soft-bristle brush, a microfiber cloth, and isopropyl alcohol are essential. These tools ensure you can safely and effectively clean every part of your keyboard.
Remove and Wash the Keycaps
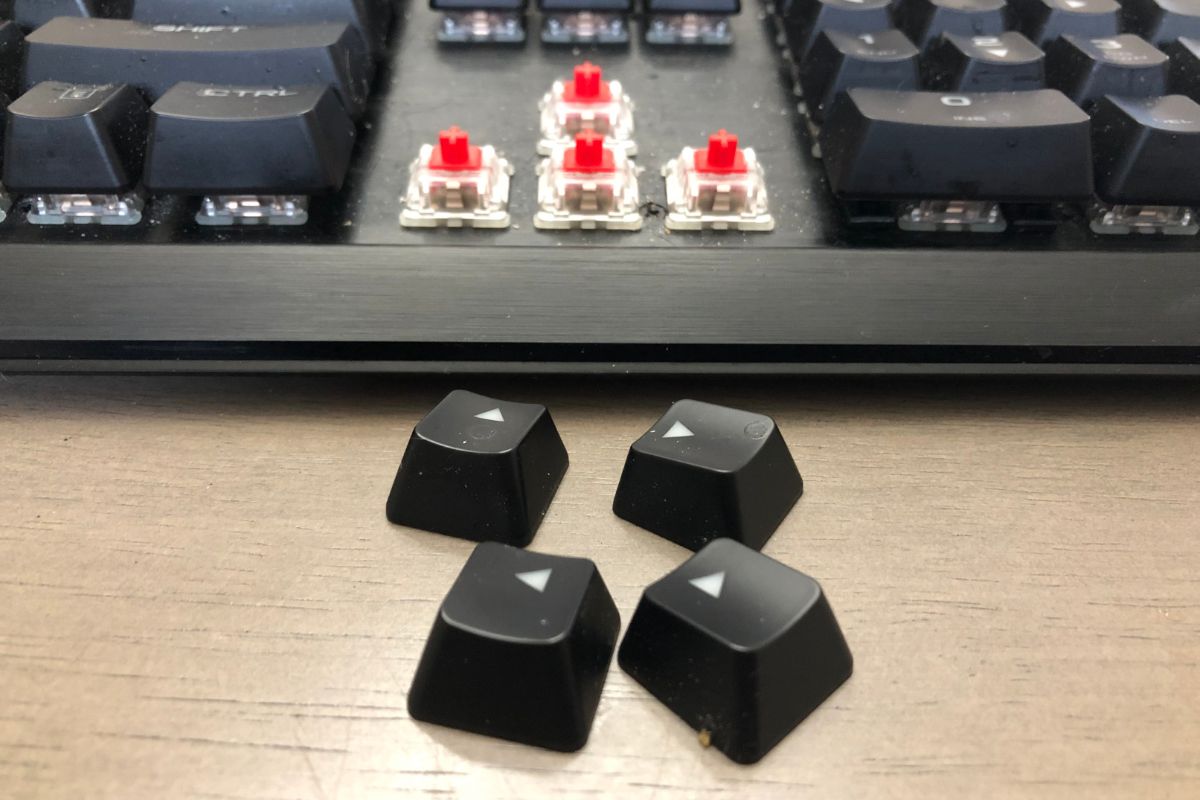
Use a keycap puller to gently remove the keycaps. Soak them in a bowl of warm water mixed with mild soap for about 10 minutes. This step helps to break down oils and grime. After soaking, scrub each keycap with a soft brush and let them air dry on a towel. Avoid reattaching them until they are completely dry.
Clean the Keyboard Surface

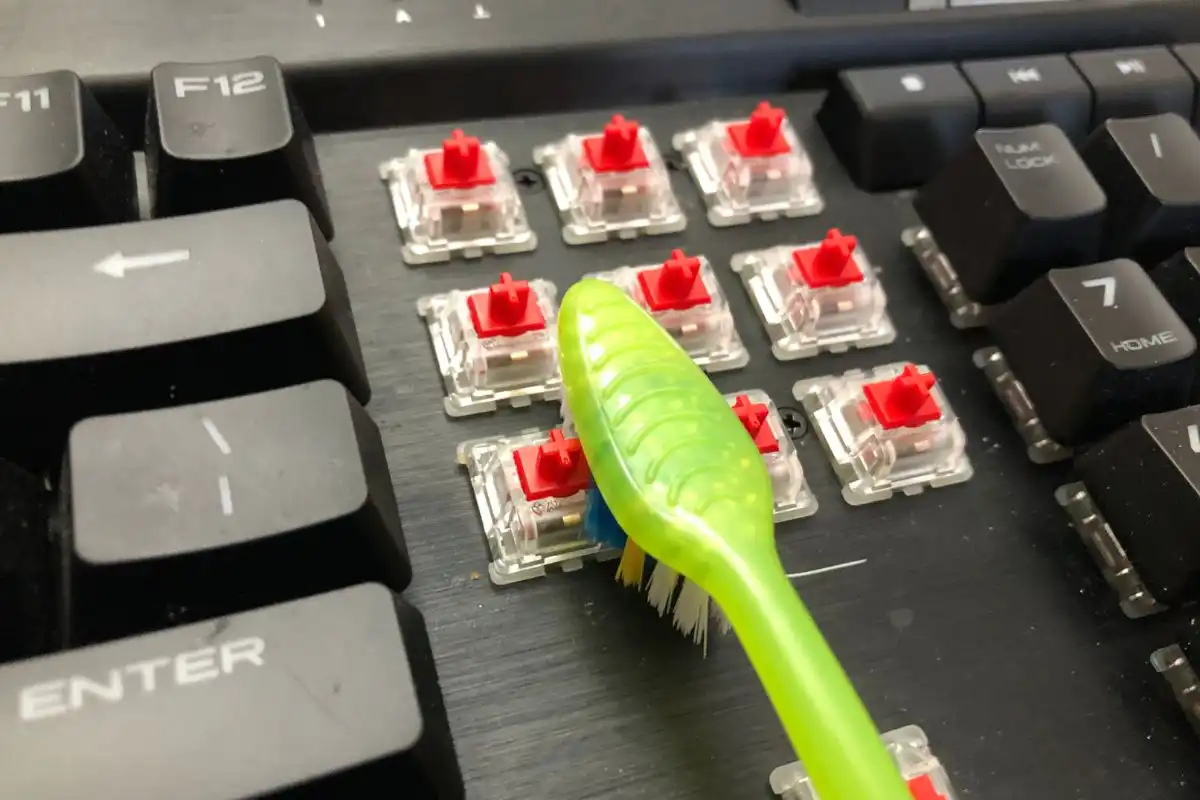
With the keycaps removed, use compressed air to blow out any dust or debris from between the switches. For tougher spots, a soft brush works wonders. For sticky areas, use a microfiber cloth dampened with isopropyl alcohol to wipe the keyboard surface gently. This prevents damage to the electronics while cleaning thoroughly.
Focus on the Switches

The switches are the heart of a mechanical keyboard, and keeping them clean ensures smooth performance. Use a cotton swab dipped in isopropyl alcohol to clean around each switch carefully. Avoid excessive liquid, as it could seep into the mechanism and cause issues.
Reassemble and Enjoy
Once everything is clean and dry, reattach the keycaps. Make sure each cap is properly seated and matches the keyboard layout. After reassembling, test all the keys to ensure everything is working correctly. You’ll notice a refreshed typing experience, which makes the effort worthwhile.
For more details and to explore high-quality mechanical keyboards, visit our product page.


