Replacing switches on a mechanical keyboard is a popular way to customize your typing experience. Whether you’re looking to improve the feel of your keyboard or fix a faulty switch, this guide will walk you through the process, ensuring a smooth transition.
Gather the Necessary Tools

Before you begin the process of replacing switches on your mechanical keyboard, it’s crucial to have all the required tools. You’ll need a switch puller, a keycap puller, a soldering iron, and a desoldering pump. Having these tools on hand will make the task easier and more efficient.
Removing the Keycaps
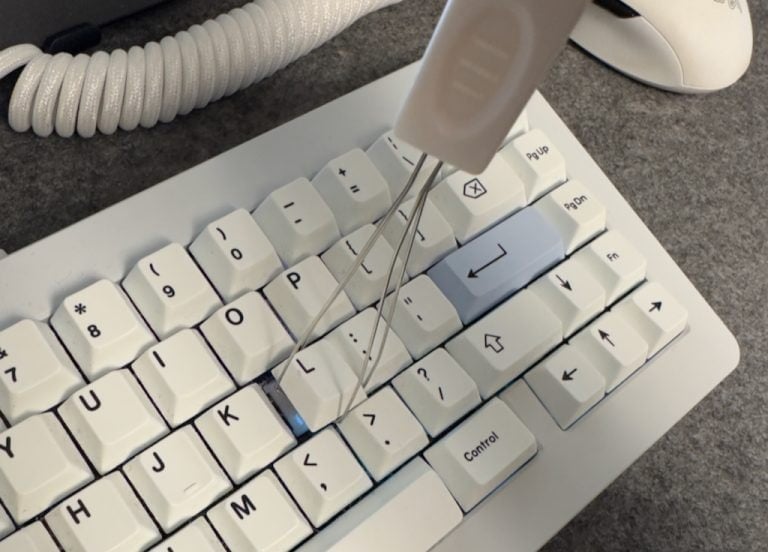
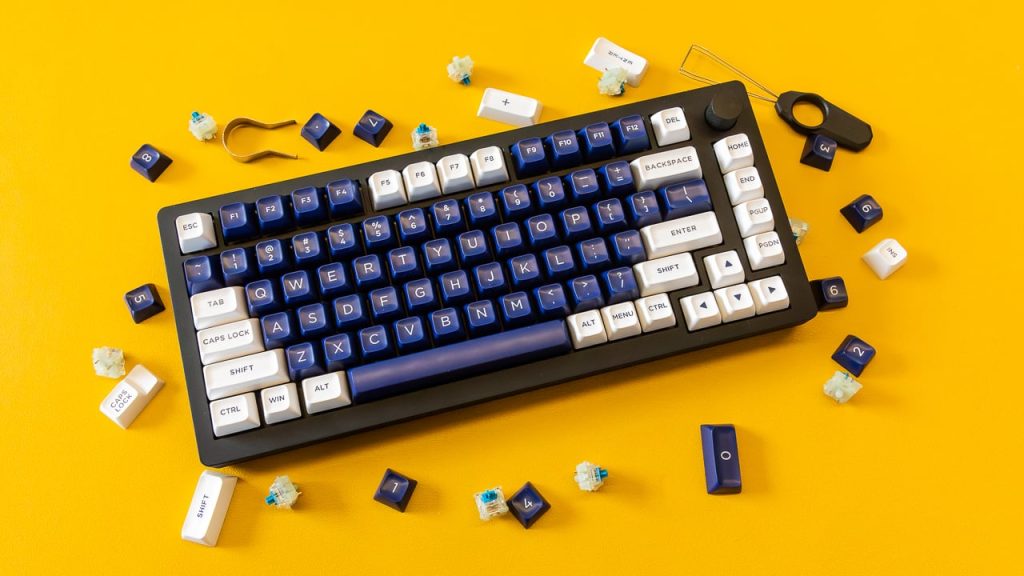
The first step in replacing switches on a mechanical keyboard is to remove the keycaps. Use a keycap puller to carefully lift the keycaps off the keyboard. This will expose the mechanical switches underneath, allowing you to access them for replacement. Make sure to set the keycaps aside in an organized manner to make reassembly simpler.
Desoldering the Old Switches
:max_bytes(150000):strip_icc()/3-4de876f9b0ff417c949e74434a377f6d.jpg)
Once the keycaps are removed, the next step involves desoldering the old switches. Heat up your soldering iron and carefully melt the solder that holds each switch in place. Use a desoldering pump to remove the melted solder, allowing you to free the switch from the keyboard. This step is critical for safely replacing switches on a mechanical keyboard without damaging the circuit board.
Installing the New Switches

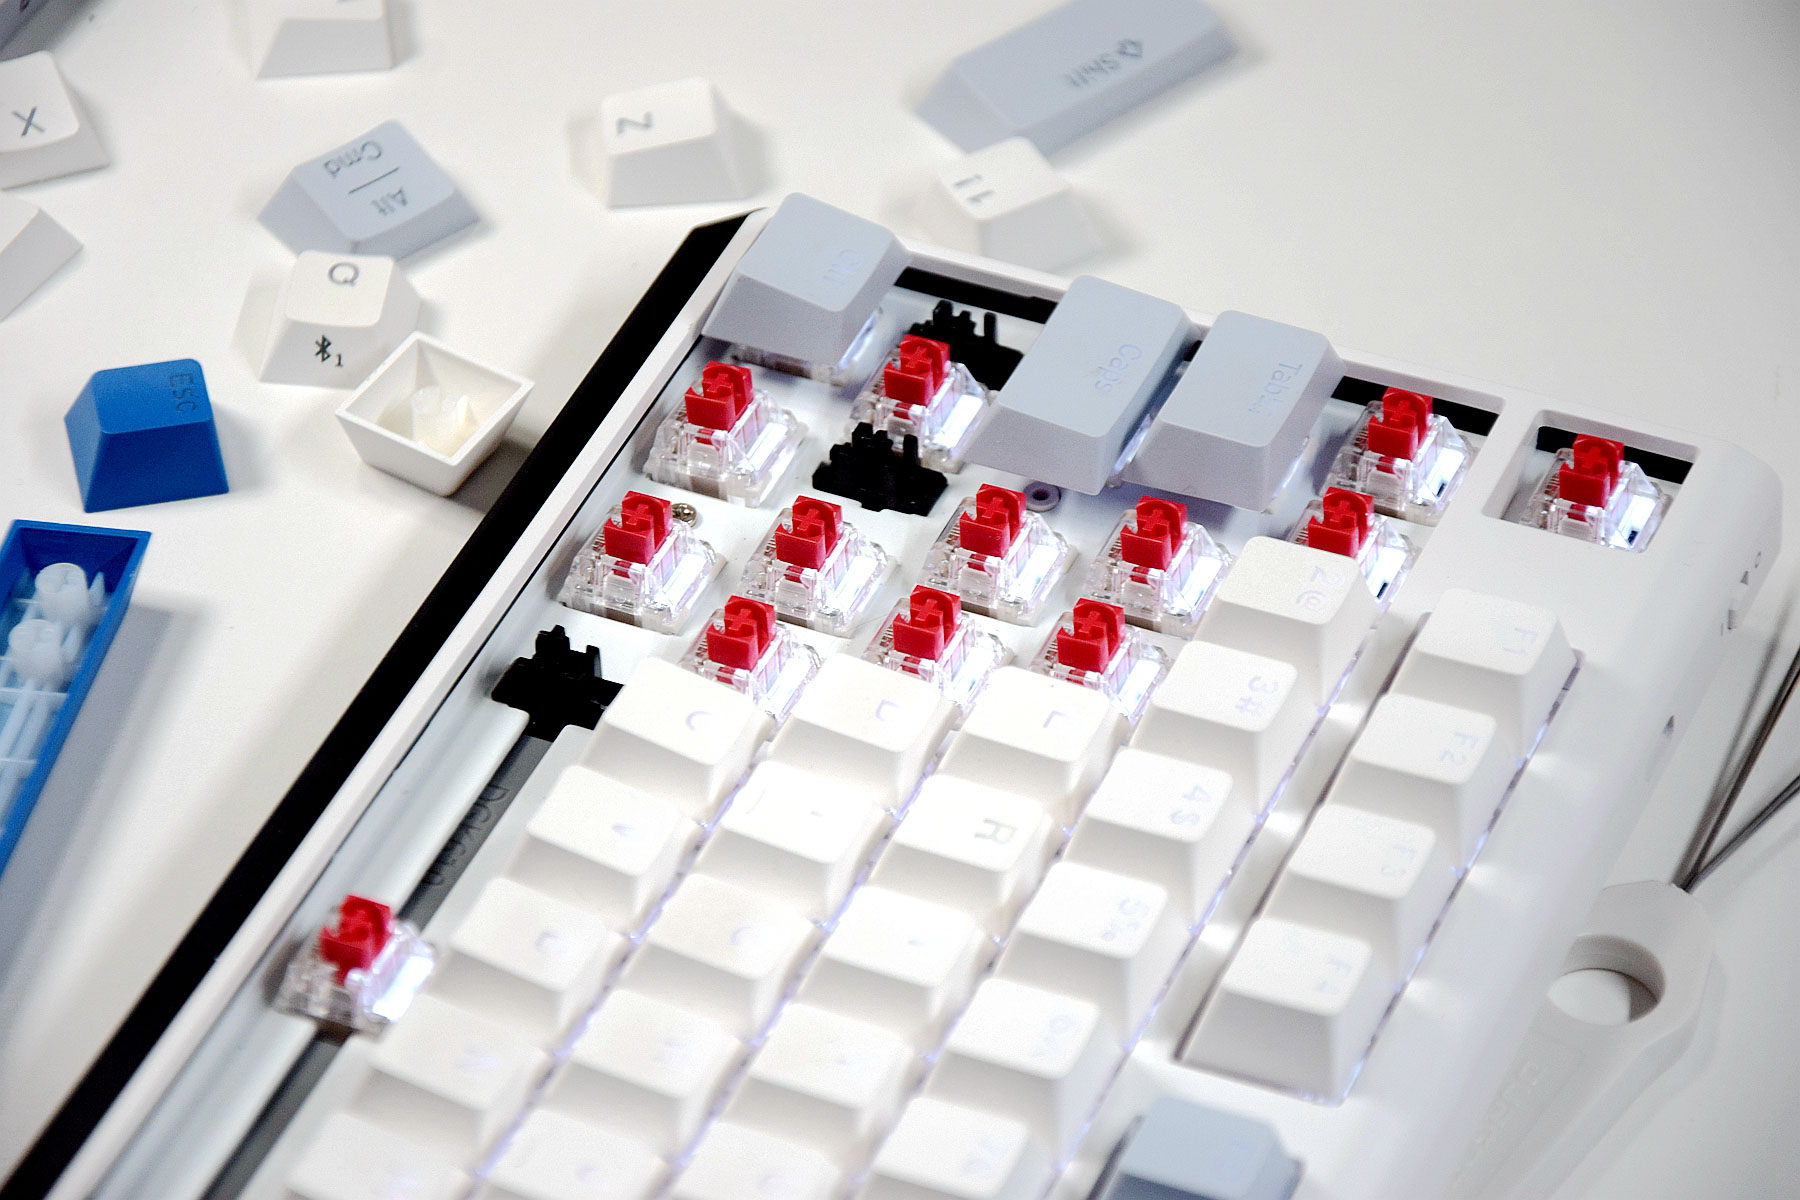
After removing the old switches, it’s time to install the new ones. Align the new switches with the sockets on the keyboard’s PCB and press them firmly into place. Once the switches are seated, use the soldering iron to apply a small amount of solder to each pin, securing them to the board.
Reattach the Keycaps and Test
The final step is to reattach the keycaps to your mechanical keyboard. Carefully place each keycap back onto its corresponding switch. Once everything is in place, test your keyboard to ensure that all the new switches are functioning correctly. If any keys are not working, double-check the soldering connections and make any necessary adjustments.
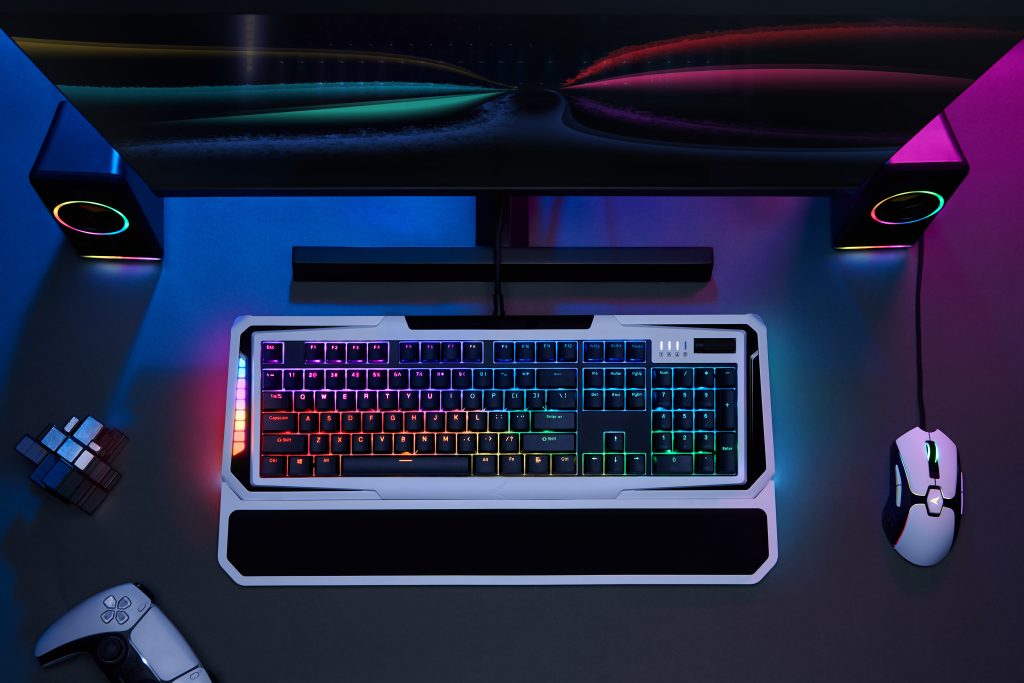
For more information and to explore a variety of mechanical keyboards, visit our product page.